Installation - Virtual Machine
Download the SimplexGate ISO and configure the Virtual Machine according to the requirement section.
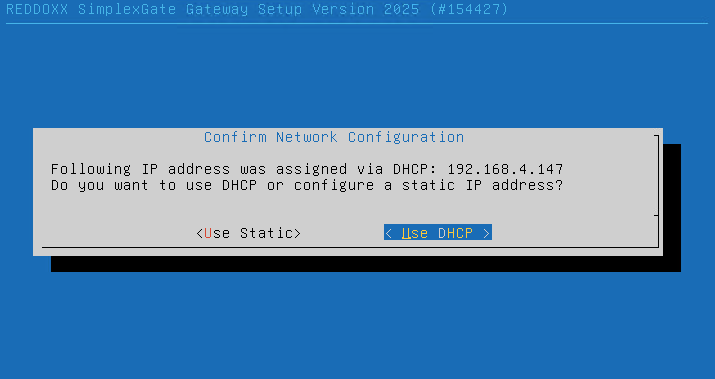
After starting the system, select whether the IP configuration should be carried out via DHCP (Use DHCP) or statically (Use Static)
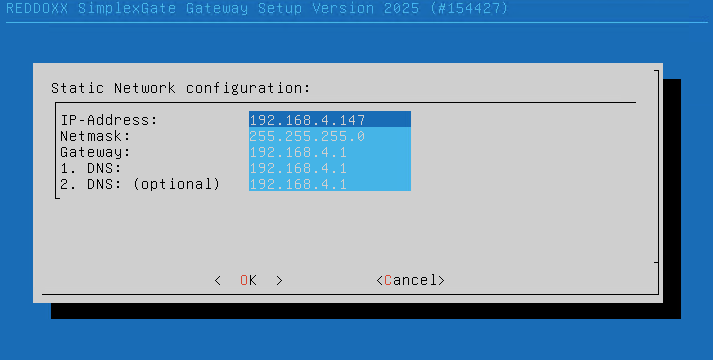
If you prefer a static IP configuration, make the corresponding settings and confirm with OK
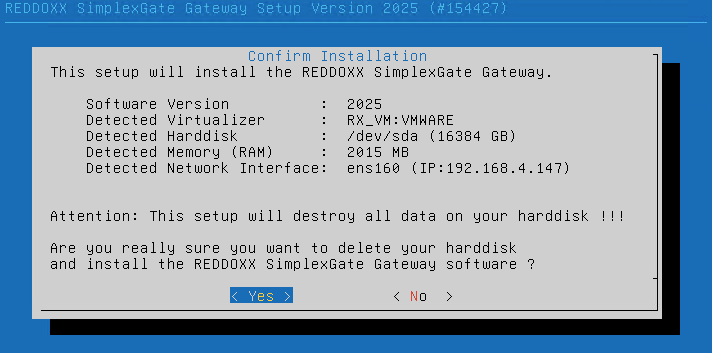
Then confirm the start of the setup with YES
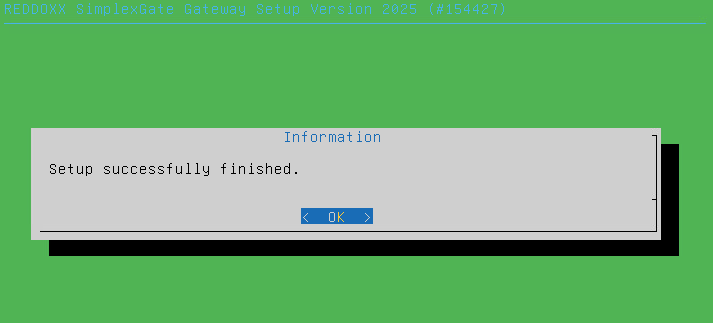
After completing the installation, confirm OK with Enter to perform a restart
Log in to the console, the username is admin the corresponding password AppAdmin
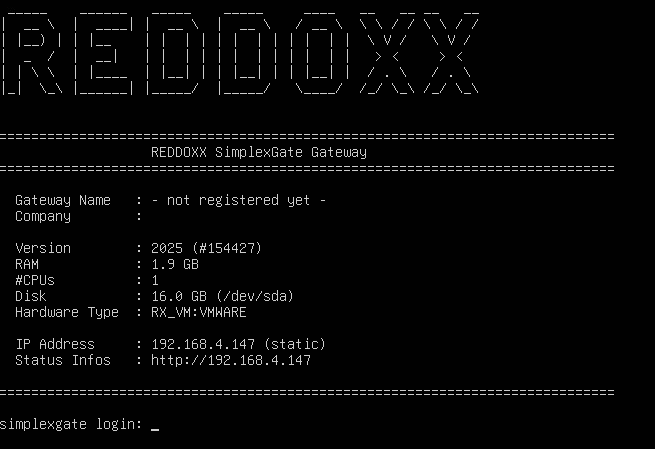
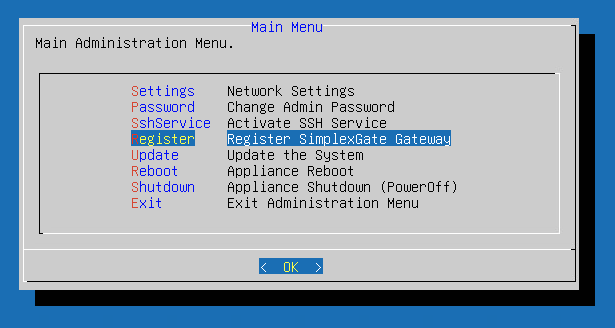
Select “Register SimplexGate Gateway”
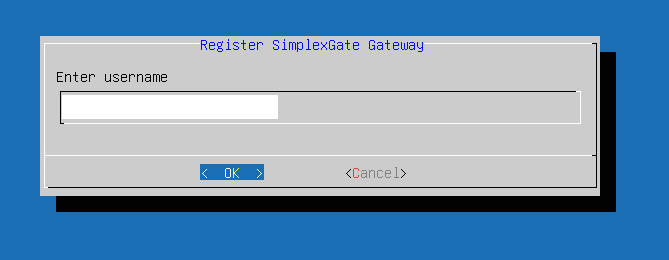
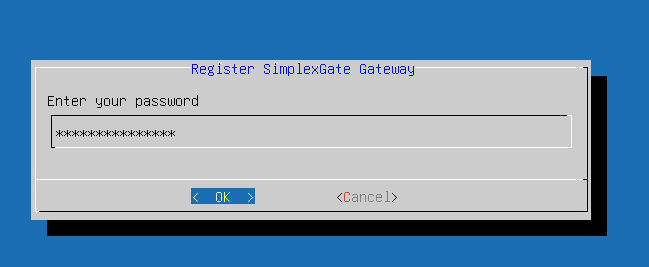
In the following dialog, log in with your my.reddoxx.com account
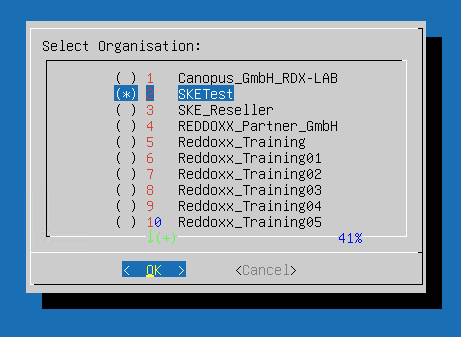
Now all organizations are displayed for which the registered account is stored in the Admin group of the organizations.
Select the Organization for which the Simplexgate Gateway is to be registered
Then select the Gateway
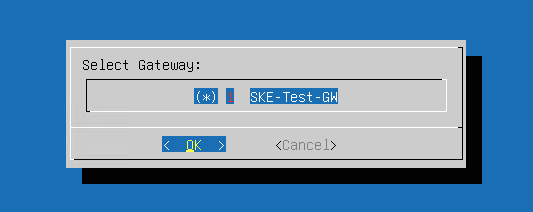
The registration of the gateway is now complete

You can display the status of the SimplexGate gateway by simply opening the IP of the SimplexGate appliance in the browser:
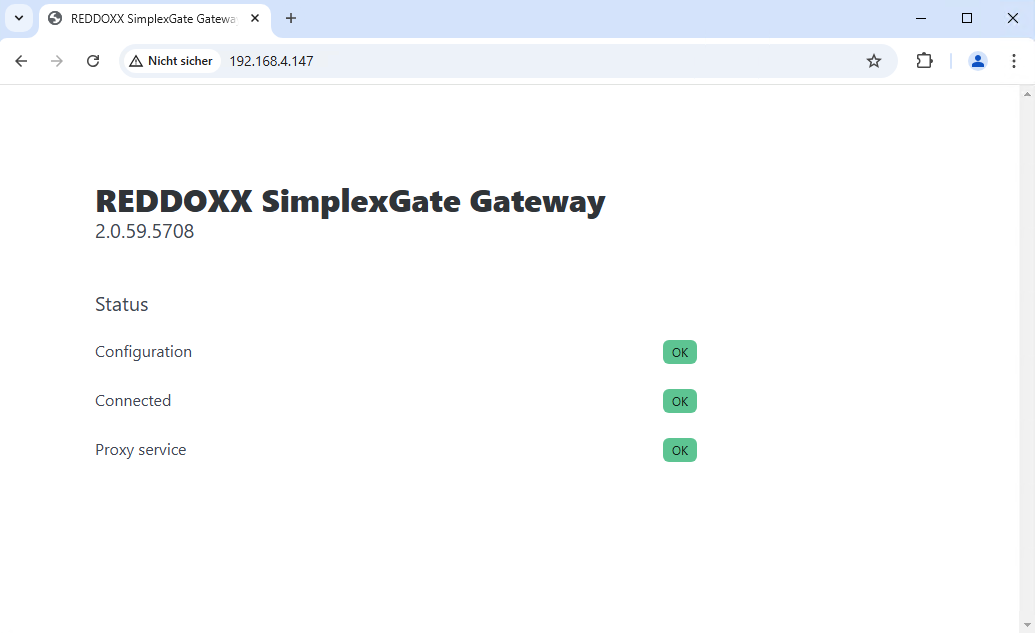
The first state turns green after the current VPN configuration has been loaded via HTTPS from https://controller.simplexgate.net
The second state turns green when the VPN is connected to the loaded configuration and then an HTTPs (gRPC) connection to our frontend was established through the VPN
The third state is the internal HTTP proxy, this should always be green
The SimplexGate appliance does not store any configuration, so you can easily install the appliance and register again.
This is especially useful, if you decide to switch your appliance from one host to another.
Just make sure that there is only one SimplexGate appliance connected to your portal gateway.